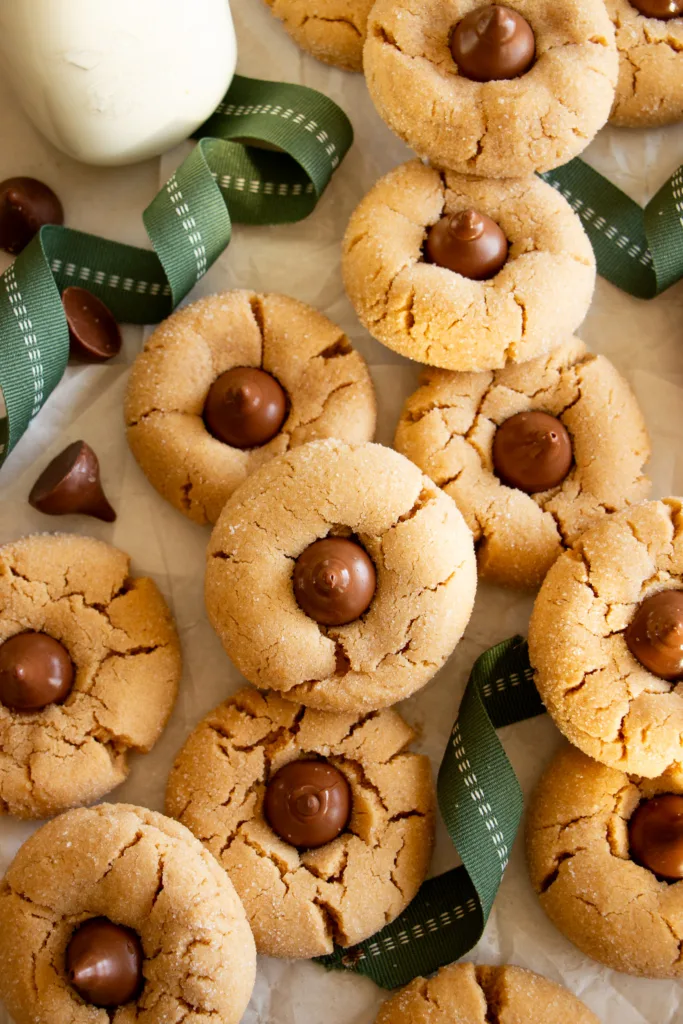
Everyone loves a good cookie, but achieving perfect results each time can be a task. In this post I share 9 tips & tricks for baking better cookies every time. Everything from why you should use room temperature eggs to how to get perfectly round cookies! I have also linked some of my favorite tools for cookie making. Make sure to visit my cookie section for all recipes!
Table of Contents:
- Room Temperature Eggs
- Using High Quality Ingredients
- Weighing Ingredients
- Leavening Agents
- Baking Temps
- Chilling Dough
- Portioning
- Round Cookies
- Freezing Cookie Dough
1. Use Room Temperature Eggs
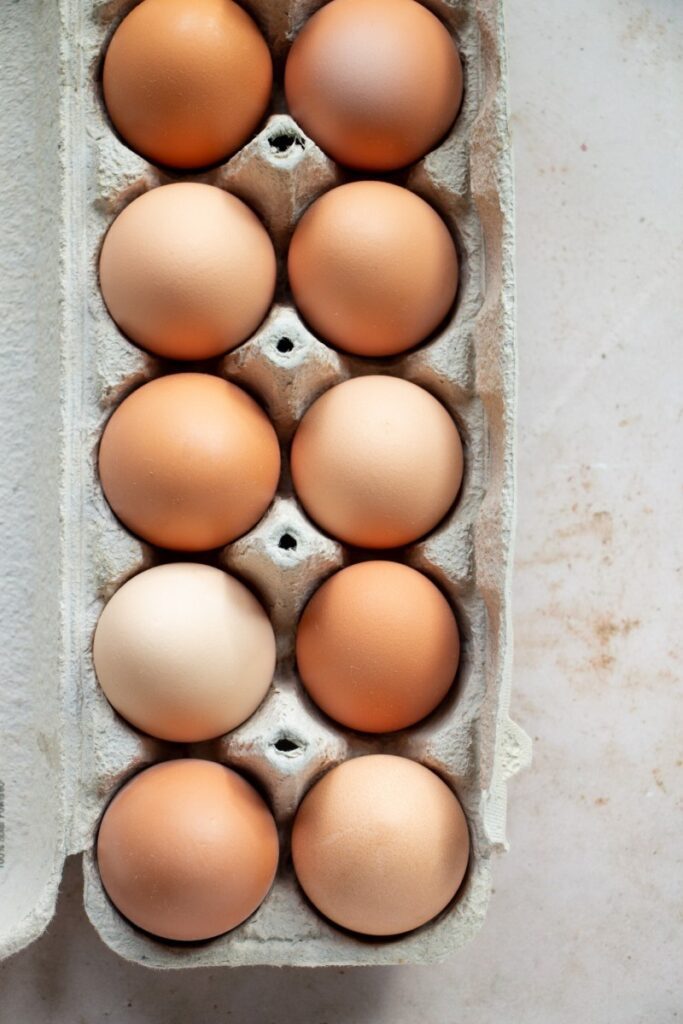
What makes room temperature eggs so important in baking?
Most of my recipes ask for room temperature eggs, why is that?
Room temperature eggs mix together a lot easier than cold eggs, resulting in lighter, fluffy cookies. The yolk breaks easier, which allows them to mix in better. Room temperature egg whites also whip up better which makes them important to use when making meringue or items that call for a large quantity of egg whites like, angel food cake.
If you don’t have room temperature eggs, simply take your eggs out of the fridge about a half an hour before using them, even this will make a difference in the outcome of your cookies! Make sure if a recipe calls for large eggs you are using large eggs. Especially with farm fresh eggs, it is natural for eggs to vary in size. So make sure you are using the correct size eggs.
2. Use High Quality Ingredients as Often as Possible
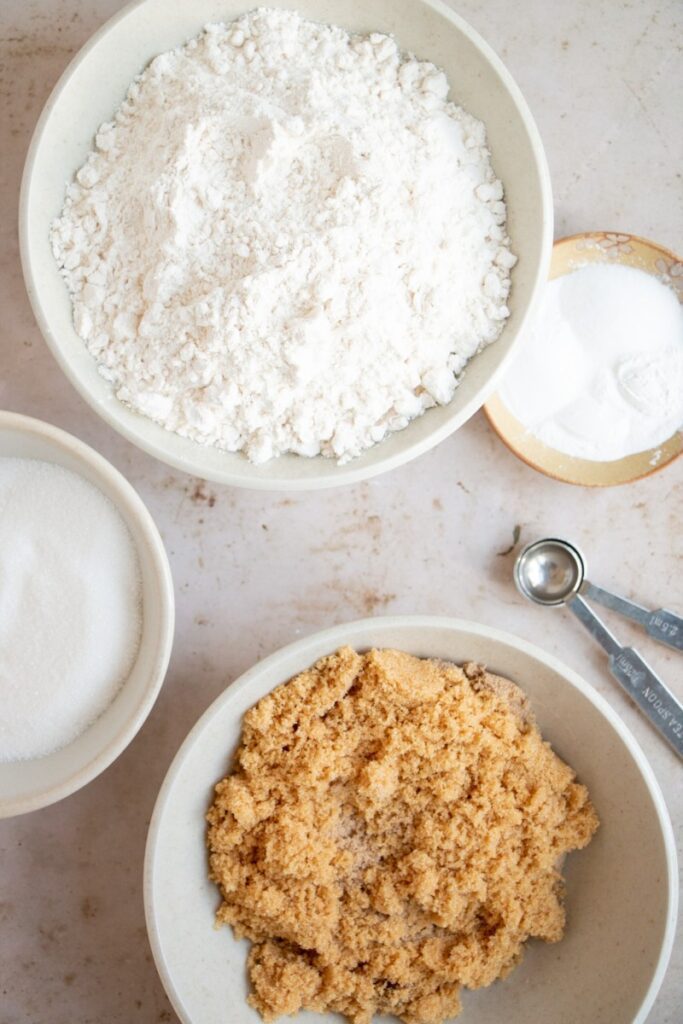
What is the importance of using high quality ingredients?
This one may seem pretty obvious, but using good quality ingredients does make a difference in creating foolproof cookies! Now I’m not suggesting you buy the most expensive ingredients either, but investing in a few high quality ingredients can be a game changer. First we will go back to eggs, should you use organic, farm fresh, grade A? There are a handful of options when it comes to eggs, I try to suggest organic when possible, but what kind of eggs you use doesn’t ultimately make a huge difference. You want to focus more on the temperature of the egg you’re using (this refers back to using room temperature eggs) and the size of your eggs.
- Extracts:
If there is one ingredient you are going to invest in, I would make that extracts. Vanilla being the big one, but this applies to all extracts, almond, lemon, peppermint. You don’t want to give your cookies a “fake” taste by using cheap or imitation extracts. I recommend investing in a good, pure vanilla extract, Nielsen Massey makes a great quality pure vanilla extract that is still affordable. I also love making my own extracts, you can find many recipes for homemade vanilla extract on the internet.

- Flour, Sugar, and Leavening Agents:
As far as flour, sugar, and leavening agents, you don’t need anything fancy here. I could recommend you buy organic flours and sugars, but I do not always do that myself. It should simply be based on your personal preference, whether you primarily buy organic or not! I recommend you purchase brands you know and trust.
Salt also doesn’t make a huge difference in the outcome of your cookies, but I recommend and prefer fine grain kosher salt. Kosher salt doesn’t have the iodine like flavor that iodized salt can have, fine grain kosher salt also distributes nicely into other dry ingredients. As with any ingredient, make sure you are aware of expiration dates, especially on chemical leavening agents like baking soda and powder.
You can also mess around with different types of flour (oat, almond, coconut, or gluten free) to see how those alter the consistency of the dough. There are plenty of recipes out there for gluten free or coconut flour cookies!
- Butter:
Let’s talk about butter, the big question is salted or unsalted. I highly suggest unsalted butter, and I will tell you why. Using salted butter, it can be harder to control the amount of salt in your cookies, given it can be tough to judge how much you need in addition to the butter. I recommend you use unsalted butter in your cookies, that way you are able to better control how salty your cookie will be.
I only keep unsalted butter on hand, and use it the same way in all recipes, I feel more in control of the salt this way. This goes along with chilling the dough – but fat is what causes cookies to spread while baking. Chilling the dough, sets the fat (typically butter) stopping the cookies from spreading as much! If your cookies didn’t spread enough, you can bang the sheet tray on the counter directly after baking to flatten them out slightly.
- Chocolate
Up your chocolate game by using chopped whole chocolate or chocolate chunks instead of traditional chocolate chips. For an extra gooey top, press extra chopped chocolate on top of your cookie dough before baking! I always recommend reserving about a cup for topping the cookies.
3. Weighing Ingredients
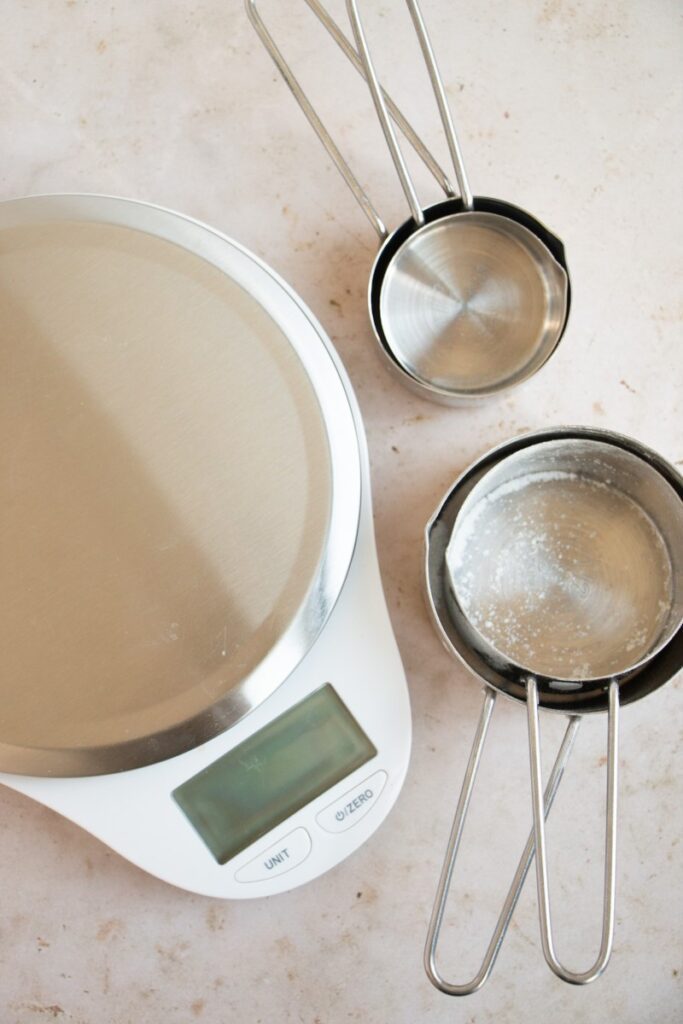
What is the importance of weighing ingredients?
Weighing out ingredients is a much more accurate way to measure out ingredients. We have seen many examples of how different dry measuring cups hold different amounts. That said, most are my recipes are still written asking for cup measurements and not written by weight. I do that because I have had many people mention, they do not own a scale (and while I recommend investing in one) I understand the annoyance. I do also share the ingredients in metric measurements so you can weigh them if desired.
If you are looking to make cookies right now, it doesn’t do any good to have a recipe in metric asking you to weigh ingredients on a scale you don’t have. If you can, weigh ingredients when possible, but it’s not the end of the world if you don’t weigh ingredients. I have tested these recipes exactly as written and they work each time using dry and liquid measuring cups. Just always make sure you use dry measuring cups for dry ingredients and liquid measuring cups for liquid ingredients – they do not measure the same.
Certain ingredients like brown sugar, is often asked to be packed. That is because the weight is much different, weighing ingredients like this can be much more accurate. Same goes with ingredients that ask to be sifted. One cup of flour sifted is not the same as one cup of sifted flour so make sure you read the recipe carefully before adding ingredients.
4. Leavening Agents

What is the importance of leavening agents?
It is important to understand how leavening agents work. Luckily you won’t need to determine if you need to use baking soda or baking powder but it is important to know why a recipes call for one or both. Leavening agents such as baking soda and baking powder cause dough to expand by releasing gases. To start, baking soda is much stronger than baking powder, about 3-4x stronger. Baking powder contains baking soda and an acid, baking soda does not contain an acid.
That said, baking powder only needs a liquid to activate since it already has an acid present. Baking soda needs a liquid and an acid to activate since there is no acid present. If a recipe calls for baking soda and baking powder, there is most likely already an acid present in the recipe, but baking soda isn’t enough so we add the baking powder for a second chemical reaction.
5. Baking Temps
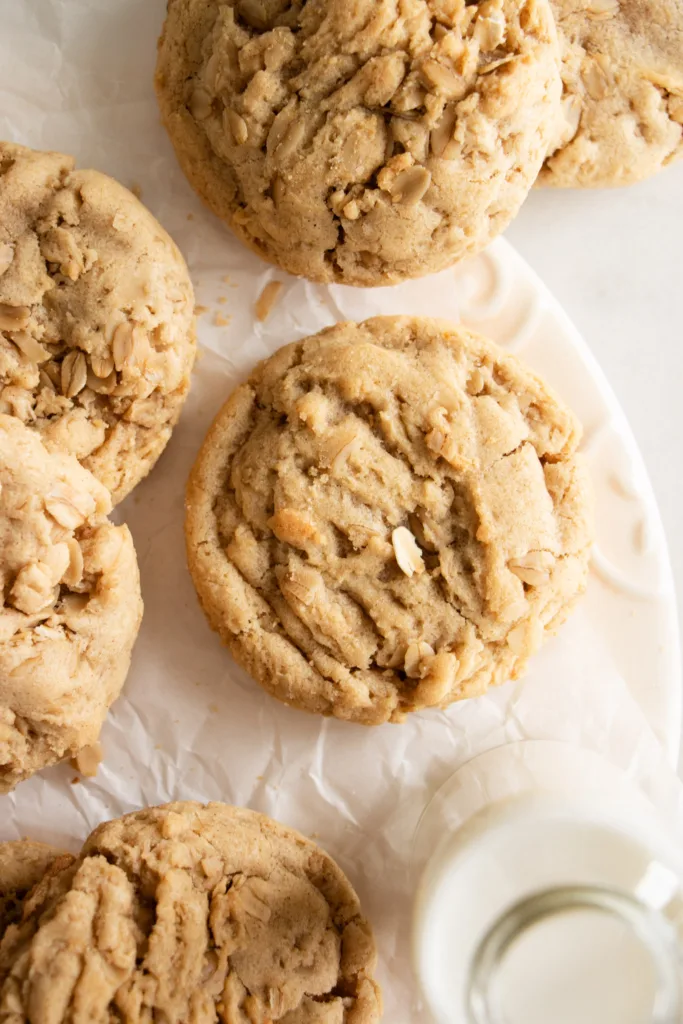
What is the importance of baking temps?
Now onto baking temperatures, there are also many factors that go into determining a baking temperature and a baking time. Your oven being the biggest factor, but often one that is the hardest to control. If possible, invest in a oven thermometer to tell you the exact temp of you oven. This is especially helpful because it shows just how much heat you lose by opening you oven door, a good reminder to not open during the baking process!
Other tips for perfect baking:
- Invest in high quality baking sheets, especially if your old ones aren’t flat
- Use silicone mats or parchment paper to cover your baking sheets so nothing sticks
- Always set your timer for 5 minutes less than the recipe calls for when baking cookies. Cookies can quickly become overly golden brown and turn hard. Unless you are looking to get crunchy cookies, I recommend you start on the shorter end of baking time and add time as needed.
- If you are baking using both racks of your oven, flip the trays halfway through. Most ovens cook unevenly, so your top rack of cookies may be super golden brown while your bottom rack may still be slightly pale and not as set up.
- Let sheet trays cool in between batches
6. Chilling the Dough

Why is it important to chill cookie dough?
The dreaded chilling time, do you have to chill your cookie dough? This definitely depends on the type of cookie you are making. In some of my recipes I require chilling (like my brownie cookies), some recipes I just recommend a quick chill (like my chewy oatmeal cookies), and some do not need to be chilled at all!
Whether the dough needs to be chilled or not, really depends on the type of cookie and the fat content in that cookie. Sometimes, your cookie dough is too soft to scoop or form into a ball, in that case I would recommend a quick 30 minute chill even if the recipe doesn’t call for any chill time.
If a recipe does require chill time, it is for a good reason! Whether it is 30 minutes or overnight, chilling cookie dough before baking allows the fat to solidify. That way when the cookies bake they keep their shape and do not spread out super thin. Think of a shortbread cookie, they always require chill time since they have such a high fat content. Another example, thumbprint cookies, my recipe does not call for any chill time, but I suggest that it make be helpful to chill simply for the purpose of forming the cookies.
Simply put, if a recipe calls for an exact chill time, follow that exactly as the recipe states and you will be closer to foolproof cookies. If a recipe does not call for any chilling time, but you are having trouble forming the cookies. Let the dough chill for 20-30 minutes, to make it easier to work with. On another note, if a recipe does not call for any chilling time but you need to make the dough in advance, scoop, chill overnight and allow to come to room temperature before baking.
My biggest tip:
Scoop cookies prior to chilling! After making the cookie dough, scoop and place on a lined baking sheet. Chill for the recommended amount of time and once they have chilled they can go directly into the oven. No more trying to scoop hard, chilled dough!
7. Even Portion Sizes
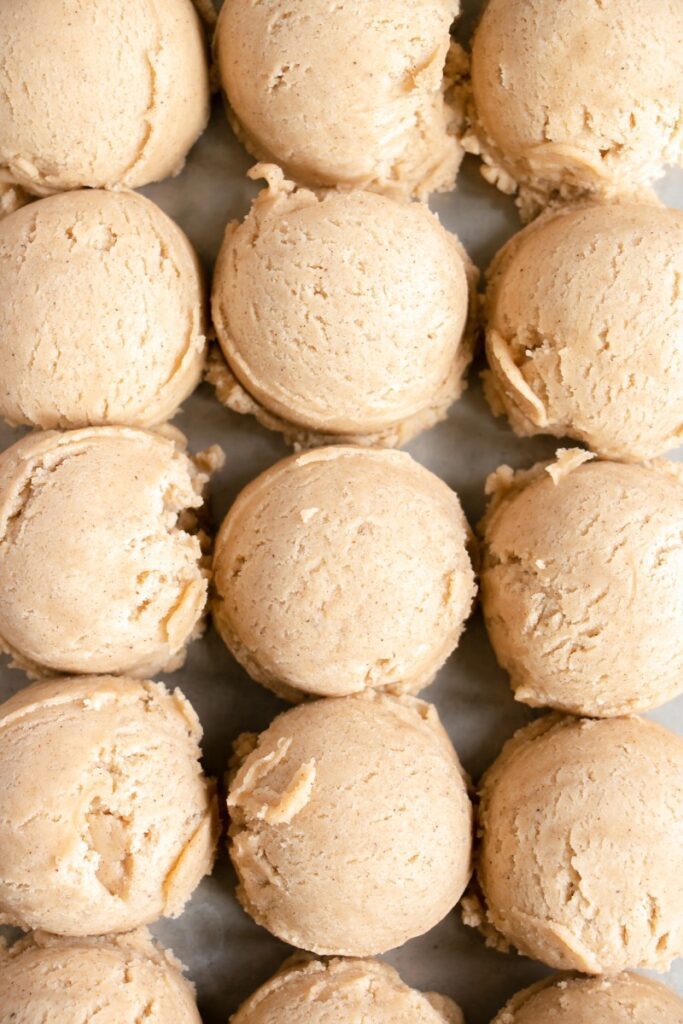
Why are even sized portions so important and how do I get them?
Another obvious tip, but even sized portions are imperative for even baking. If your cookies are all different sizes, they will all bake differently leaving some over baked and some under baked. I highly suggest investing in a portion scoop, I use these, and I use them all the time! I personally just scoop and bake, I don’t usually even roll my cookie dough. A portion scoop will ensure all of your cookies are the same size, therefore ensuring they bake evenly.
If you are making sugar cookies or shortbread cookies, any cookie that is rolled out instead of scooped. I recommend using a dedicated kitchen ruler to measuring the thickness of the dough, this ensures it is the same thickness throughout, which means even baking and foolproof cookies!
8. Perfectly Round Cookies
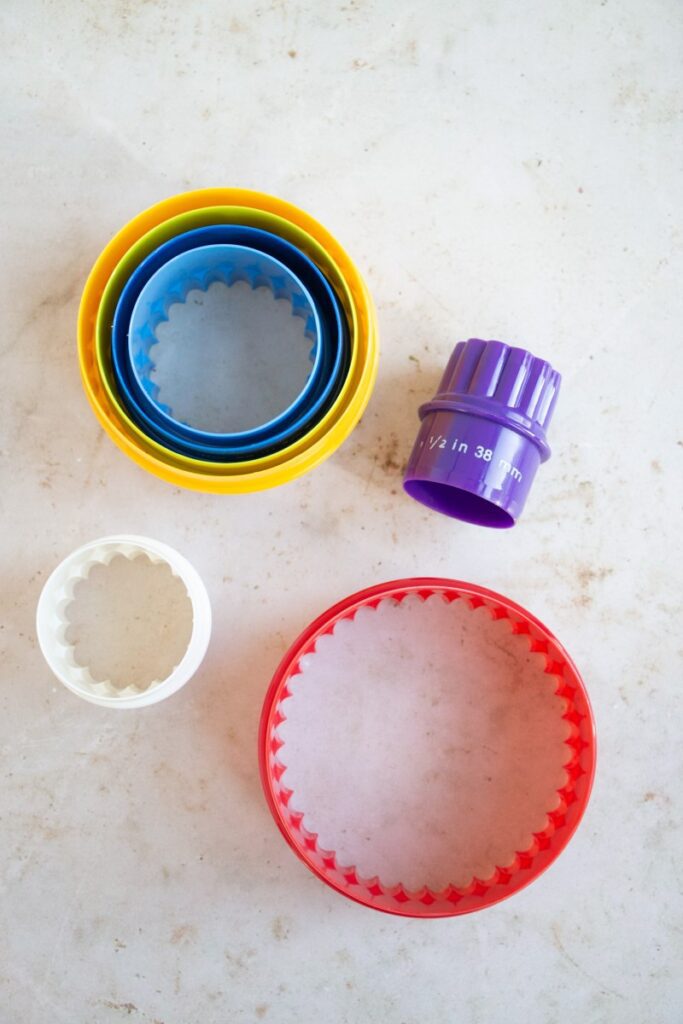
How do I get perfectly round cookies?
Have you been wondering how to get those perfect, bakery style, round cookies? One very simple tip can turn your wonky cookies into perfect circles. Any round cookie or pastry cutter will work, you can even get creative and find a lid or mason jar ring that will fit. All you need is something round that is larger than your cookie, we don’t want those edges to get cut off!
After baking, straight out of the oven, place your round cutter around each cookie and gently scoot in a circular pattern until you have a perfect circle. Be very gentle with this, as warm cookies are very fragile and you don’t want to break or tear the cookies. The cookie does need to be warm for this too work, take your time but make sure to get to every cookie before they cool!
9. Tips for freezing cookie dough
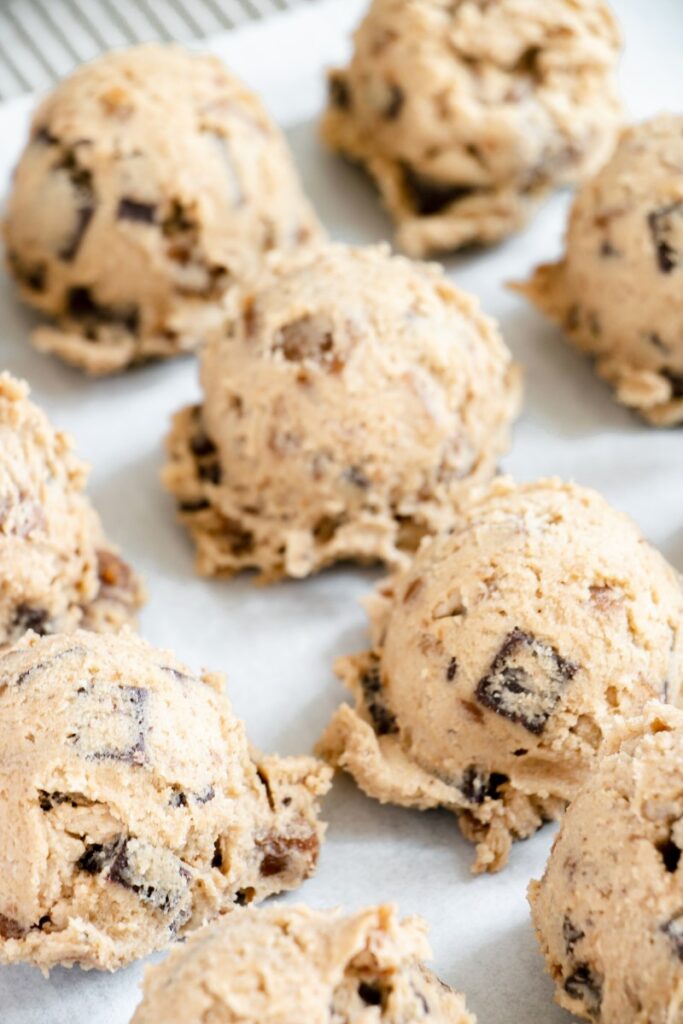
How to freeze your cookie dough?
If you haven’t been freezing extra dough when you make a batch of cookies, this is your sign to start. I have yet to find a cookie that doesn’t stand up in the freezer. Some of my recipes make 2 or 3 dozen, if you don’t need that many cookies, just pop a few in the freezer before baking. I recommend using your portion scoop to get the perfect, freezer friendly cookies.
Simply make the cookies as you would normally, scoop into even portions, lay in a single layer on a cookie sheet and place in the freezer until hard. Transfer to a Ziploc bag labeled with the name, date, and baking instructions. Store in the freezer for 4-6 months, when you want a cookies, simply remove from the freezer place on a baking sheet, allow to come to room temperature while the oven preheats and bake according to baking instructions. Fresh baked cookies anytime, after all you should have foolproof cookies at any time!
Take these tips and go bake some better cookies! Here are some recipe ideas to get you started…
The Best No-Chill Roll Out Sugar Cookies
Copycat Panera Bread Lemon Drop Cookie Recipe
Nutella (Chocolate Hazelnut) Oatmeal Cookies Recipe
Chewy Snickerdoodle Cookie Sandwiches
Easy Peanut Butter Blossom Cookies
