
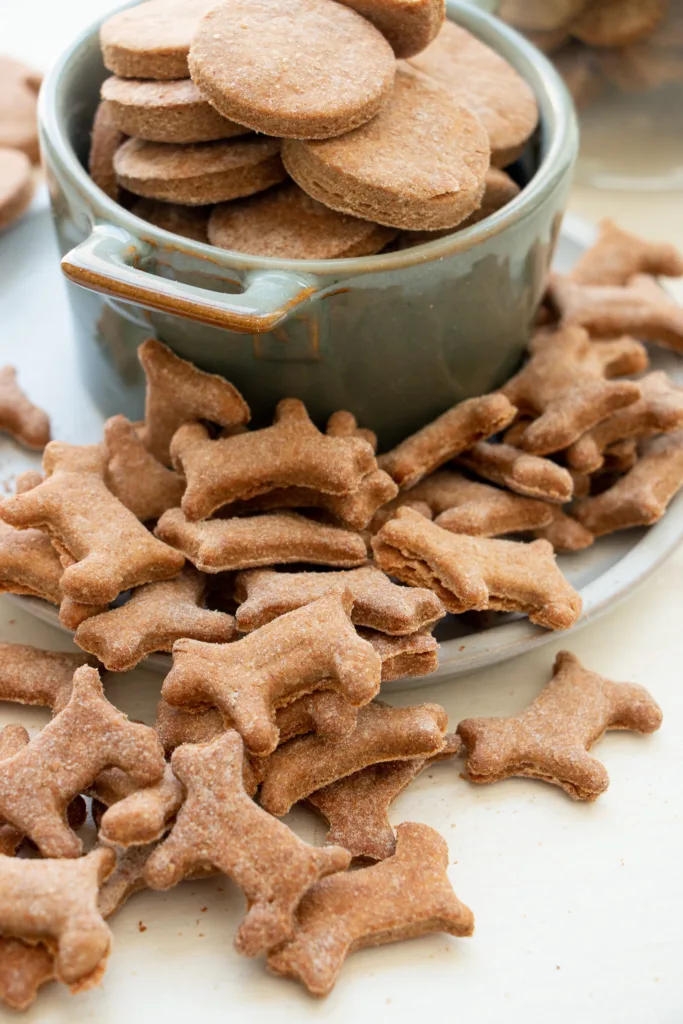
This homemade peanut butter dog treats recipe are so simple and your dogs will love them! Peanut butter, whole wheat flour, and eggs make up these simple treats. Give your dog something you can feel good about, no secret ingredients or additives just 3 simple ingredients. Even better these are very affordable to make & they stay fresh for weeks. Make these into any size or shape desired and have fun sharing with your pup!
Highlights of these homemade dog treats and why you’ll love them:
- Budget friendly: making these three ingredients treats at home is so much more budget friendly than buying them from the store. Plus they can be customized however you’d like!
- Simple pantry ingredients: made with peanut butter, eggs, and whole wheat flour – these dog treats couldn’t be more simple. See ingredients section below for ingredient notes regarding peanut butter for dogs.
- Shelf stable: if these treats are baked until all the moisture is gone, they can be store in an airtight container for weeks! Now, they do not contain preservatives so watch for any mold that may appear before giving to your pup.
- Makes a fun gift: if you have friends that are pet owners, they will love these homemade treats. They make a fun gift in a labeled mason jar paired with a pet banana or squeaky toy!
If you like this peanut butter dog treats recipe, try these other easy recipes…
Homemade Banana Oat Dog Treats
How to make the Homemade Peanut Butter Dog Treats Recipe (with step by step instructions):
Let’s talk a little about how to make these dog treats (The printable instructions are in the recipe card below.)
Quick overview:
- Combine all ingredients in a mixing bowl.
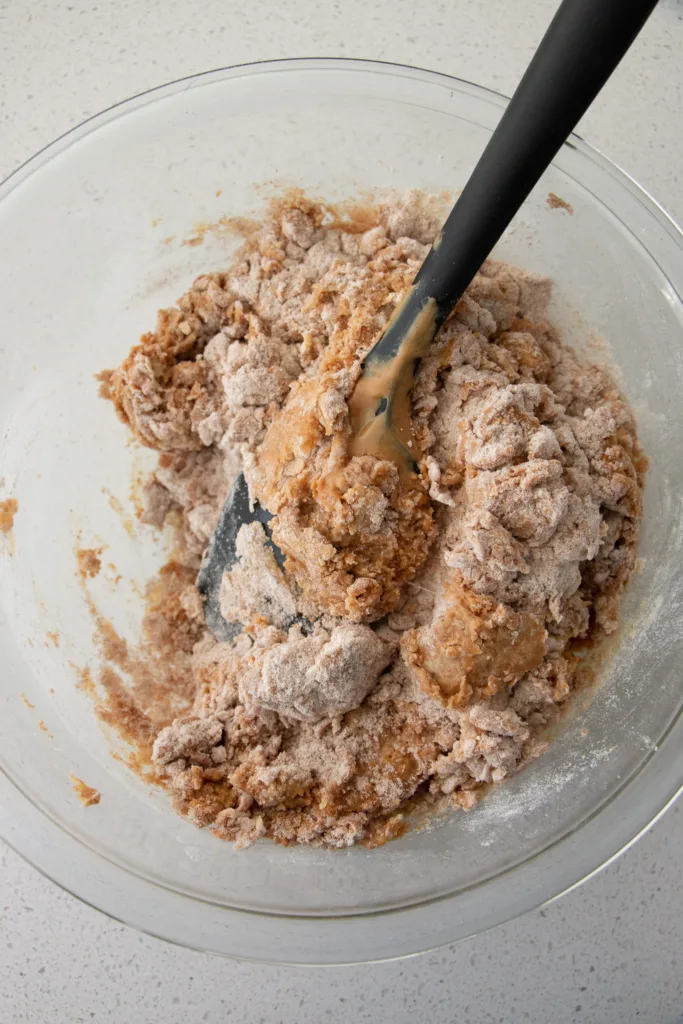
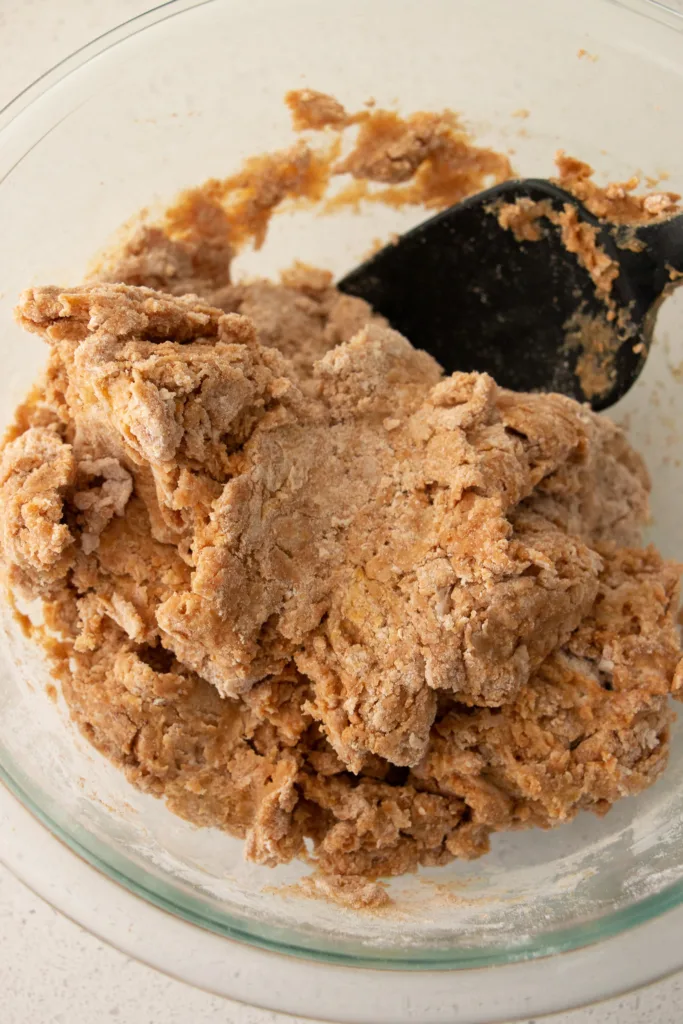
- Mix until a shaggy dough forms, transfer onto clean counter.
- Roll out dough and cut into shapes.
- Bake and let cool.
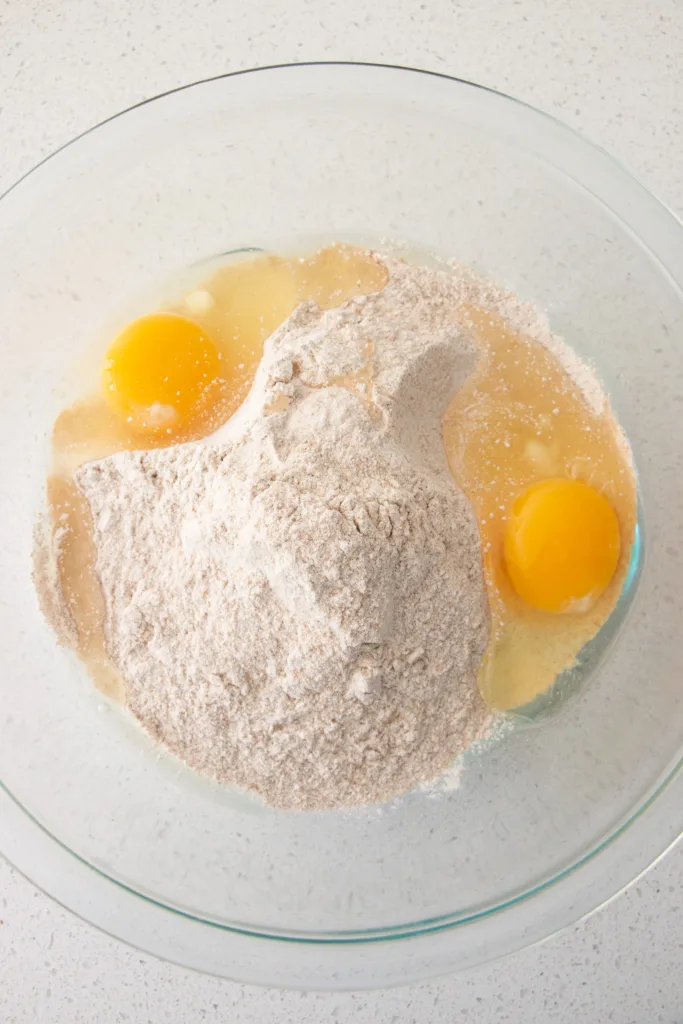
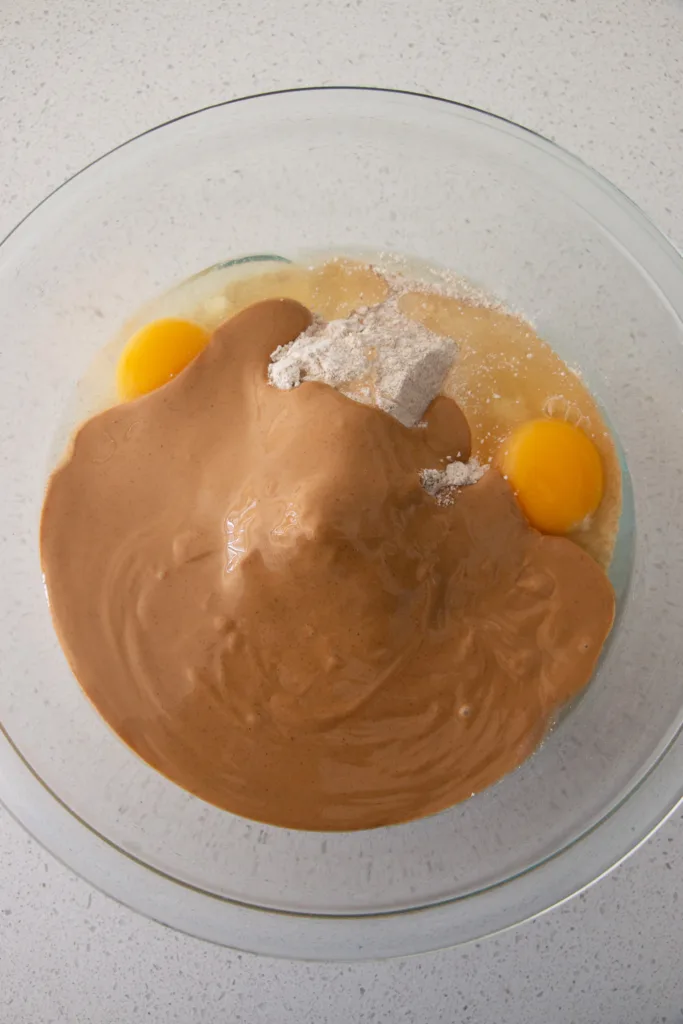
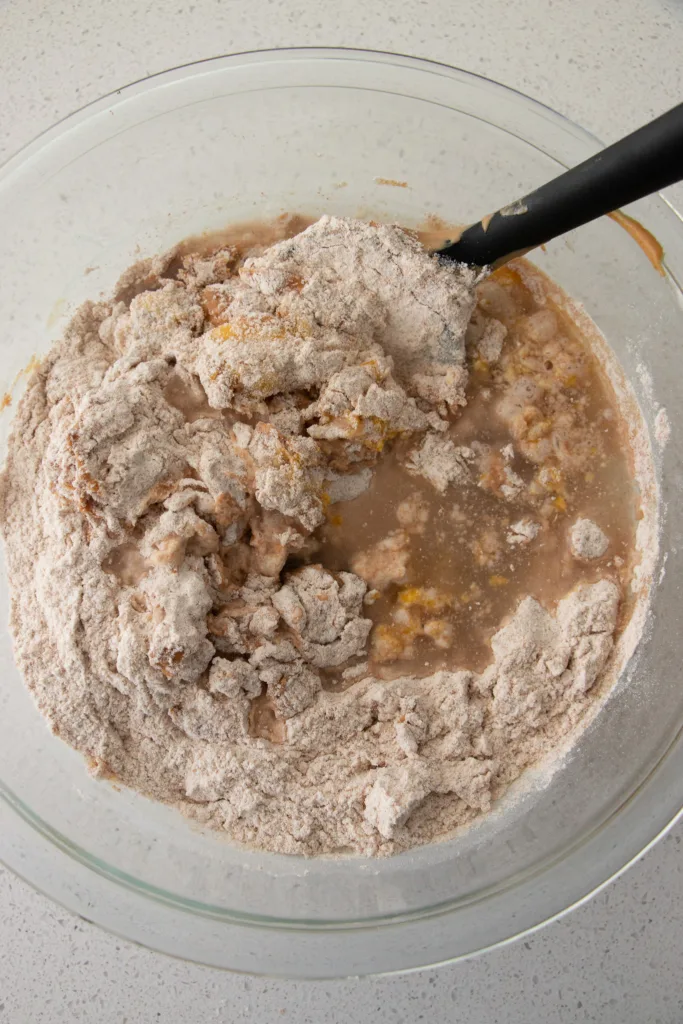
1: In a large mixing bowl combine whole wheat flour, eggs, peanut butter, and water.
2: Mix until a shaggy dough forms, the dough should be sticky to the touch.

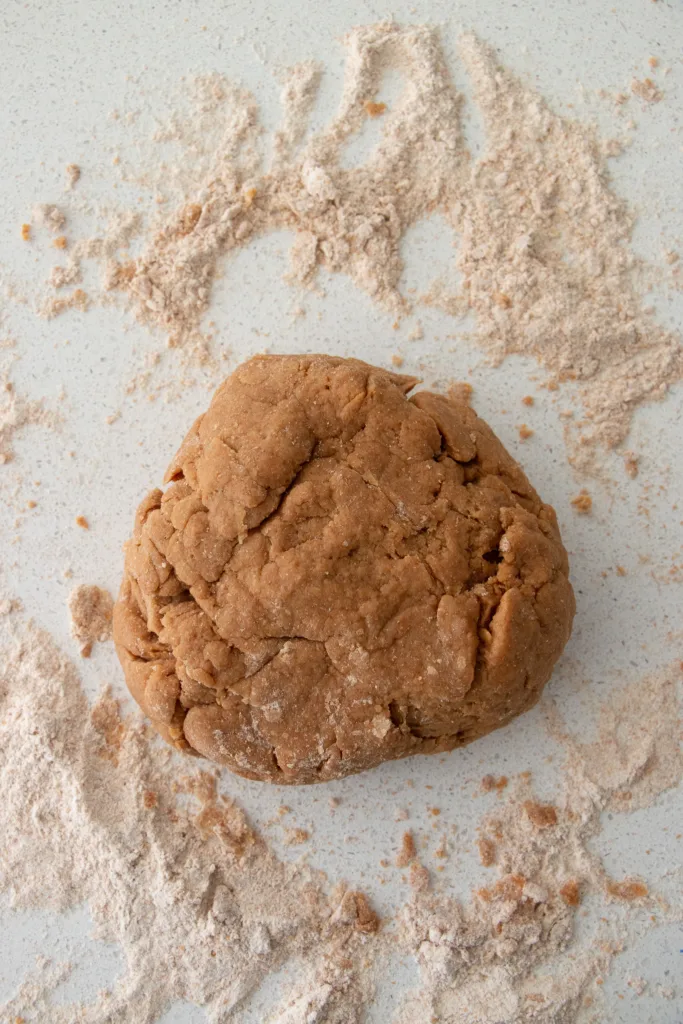
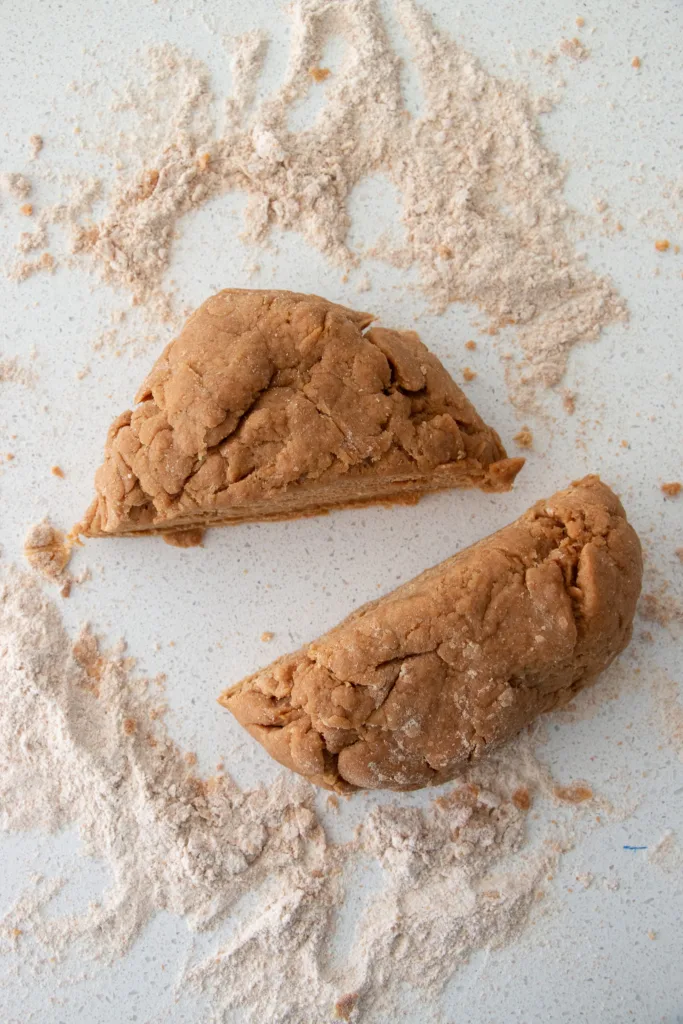
3. Transfer dough to a clean surface dusted with more flour. It can help to divide the dough into two chunks. Roll out to about 1/2″ thickness.
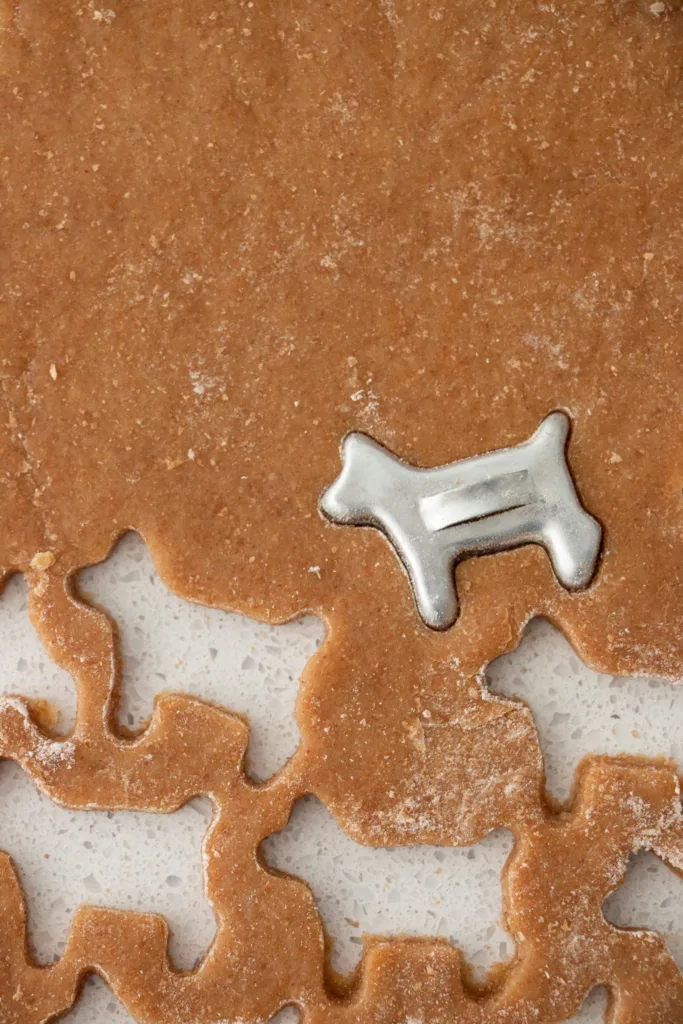
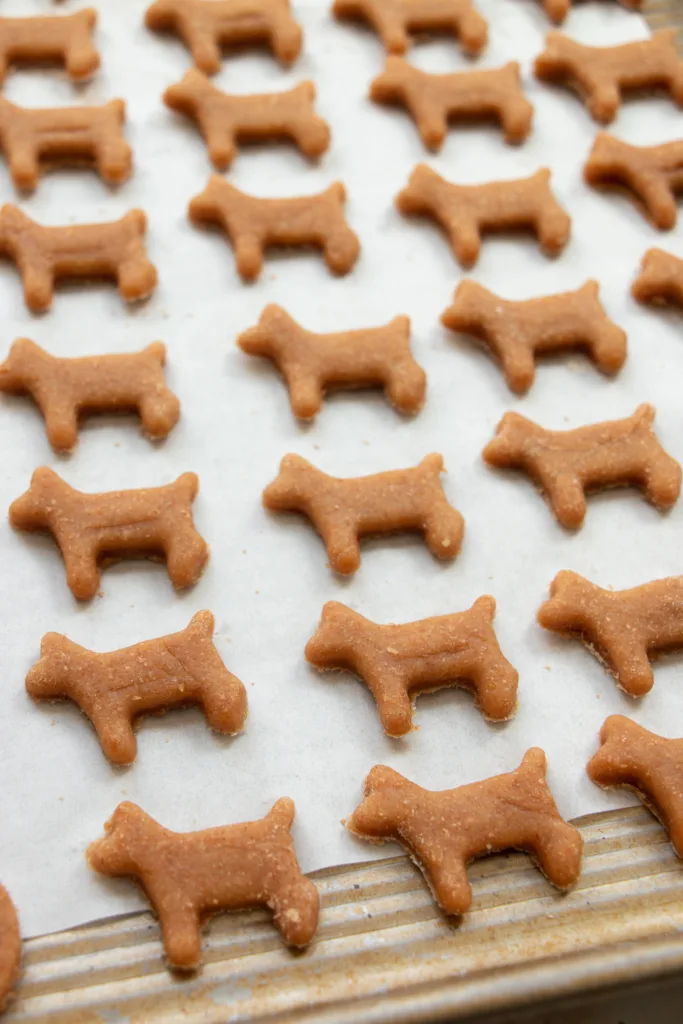
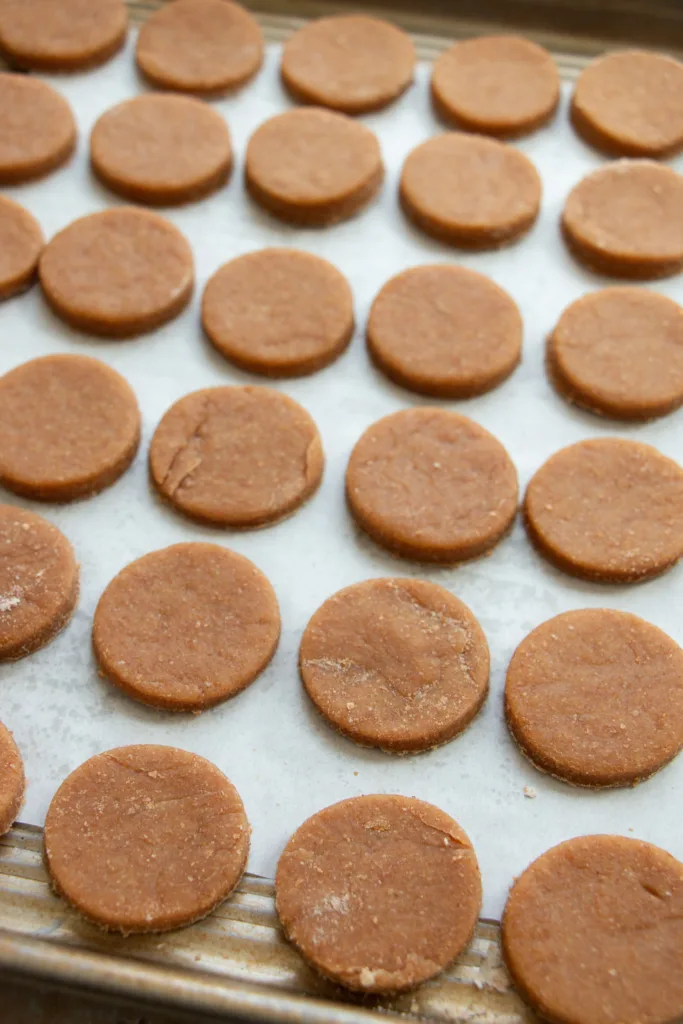
4. Use cookie cutters to cut into desired shapes. Place on a parchment lined sheet pan, these don’t spread much so they can be placed about 1/2″ to 1″ apart. Bake and let cool completely before storing.
Baking times and Variations:
Baking time may vary based on the size and thickness of the treats the times below can be use as reference.
- Small sized treats: bake for 20-25 minutes
- Medium sized treats: bake for 25-30 minutes
- Large sized treats: bake for 30-35 minutes
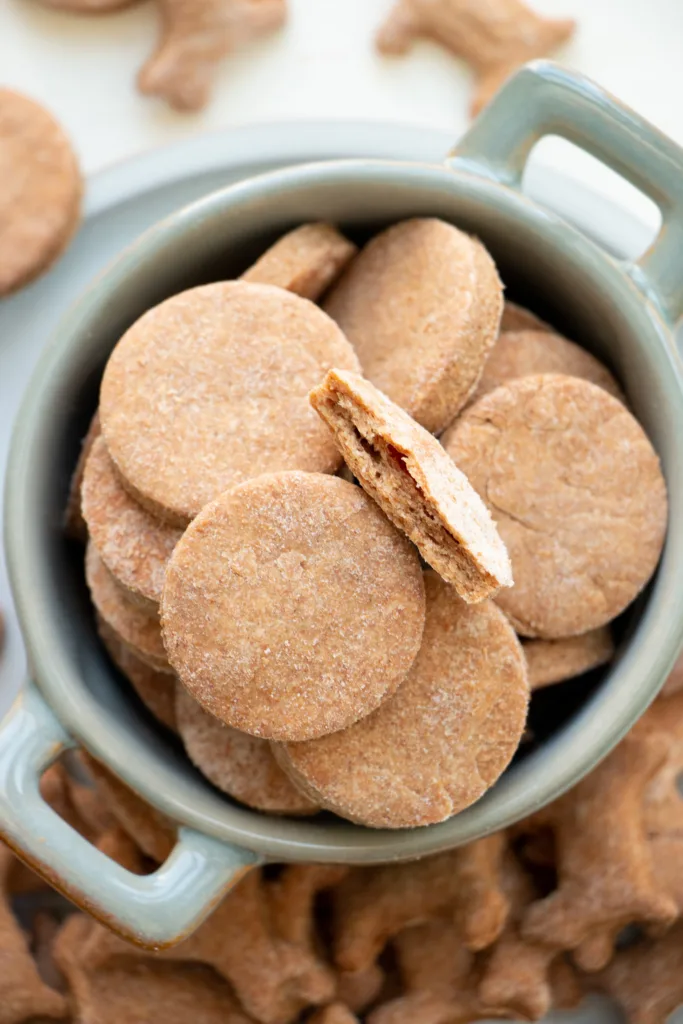
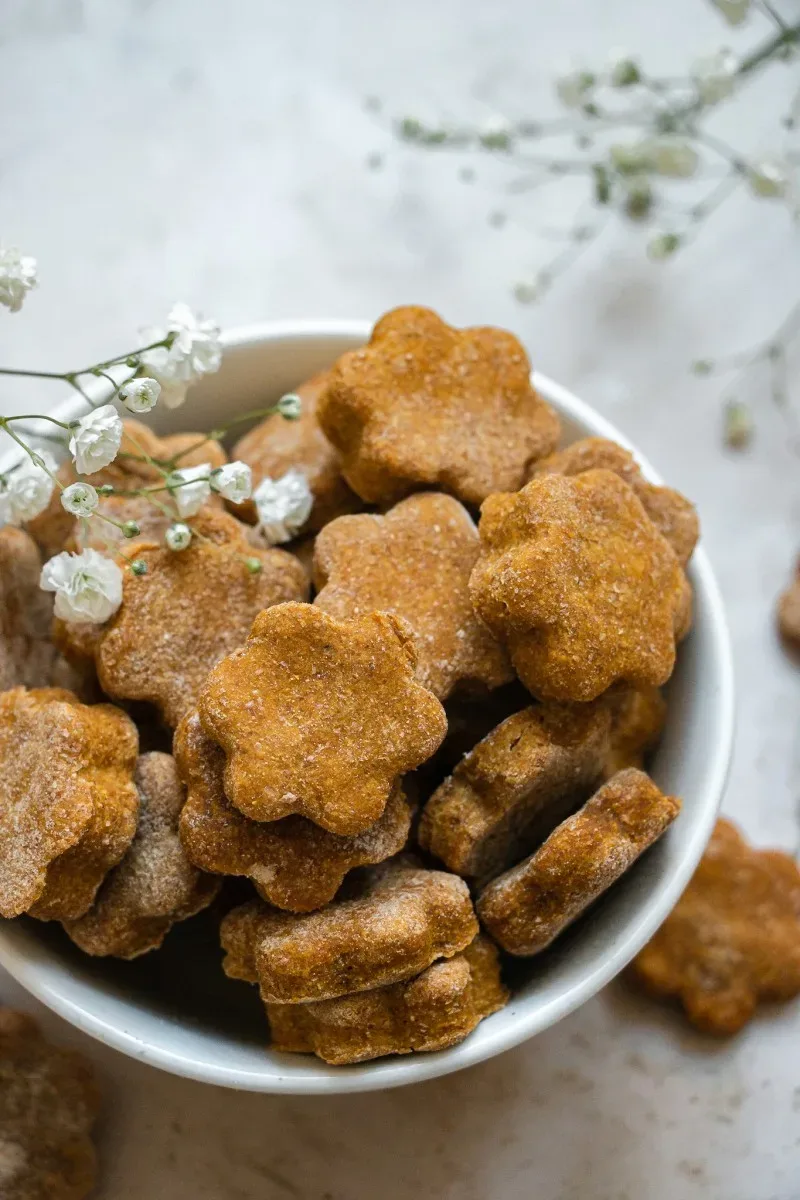
*You want the treats to be hard and crunchy, not soft to the touch. We want to get all the moisture out so these stay fresh and mold free! Some variations could be
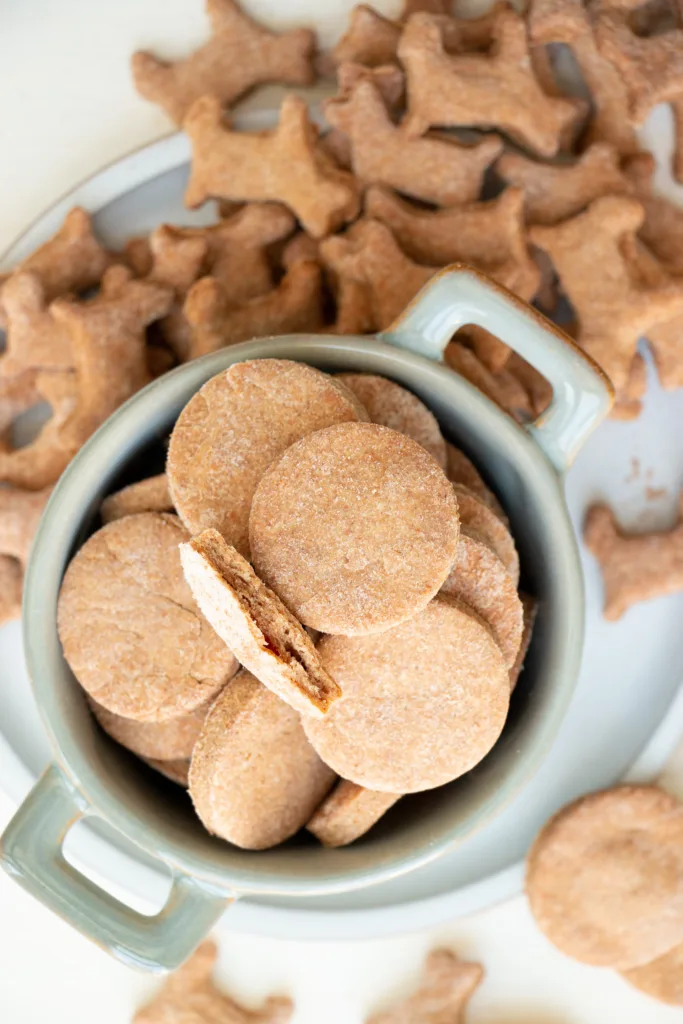
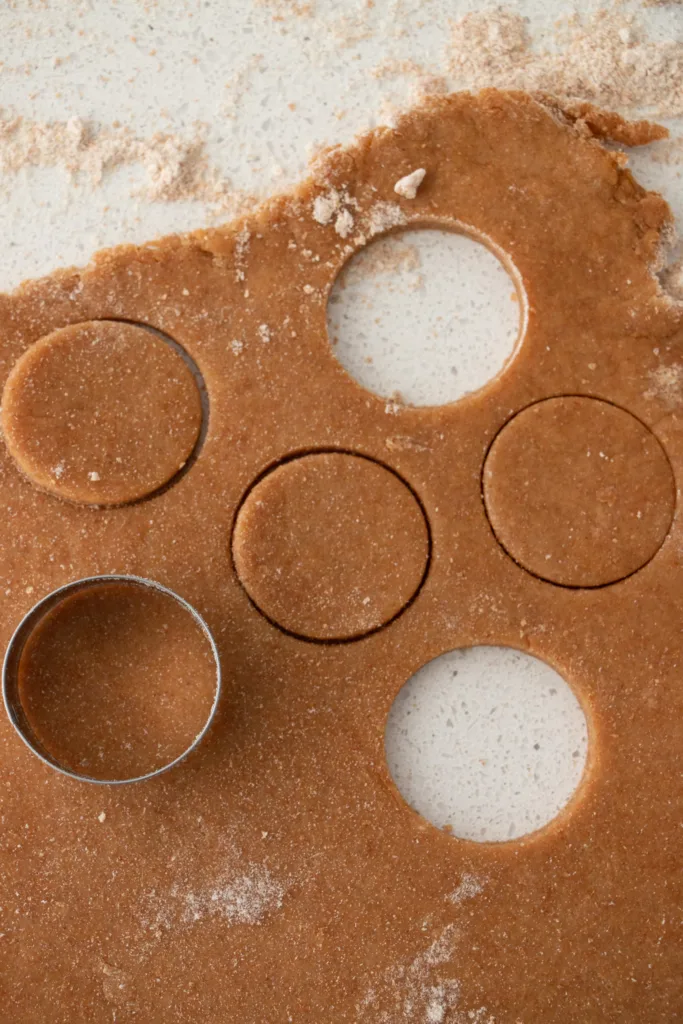
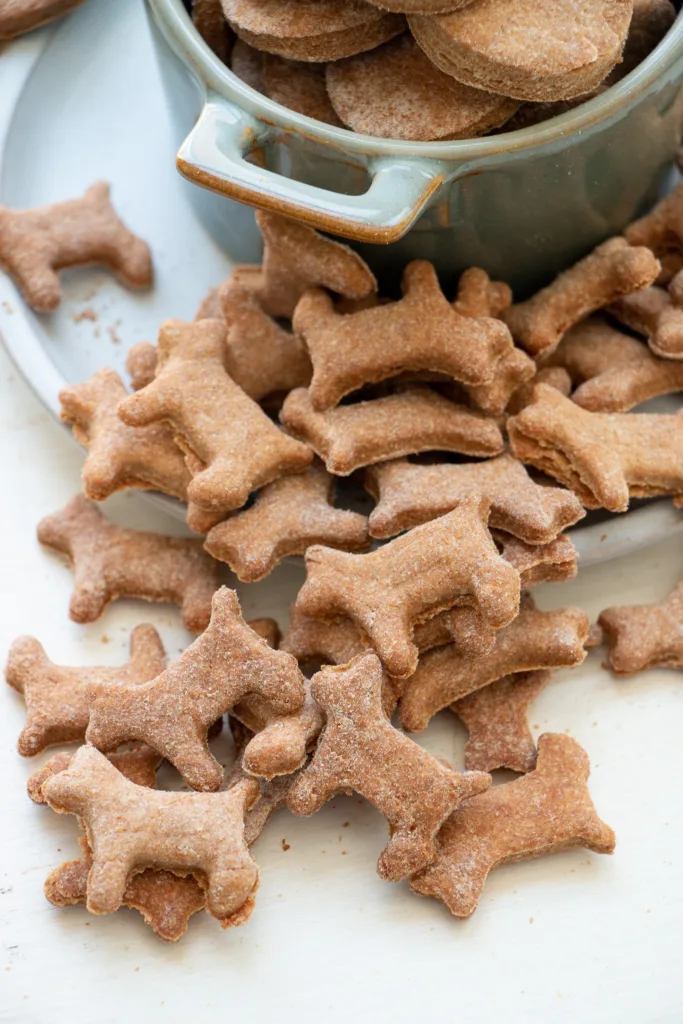
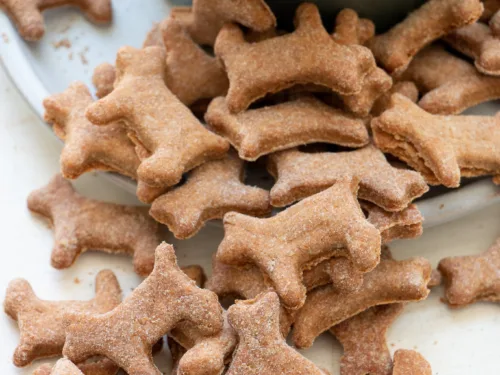
I use mini round cutter and a small dog cutter for bite sized treats! I love this cute bite sized dog cookie cutter, you can find fun dog cookie cutters on Etsy or at baking stores. These homemade dog treats can keep for months if dried correctly! Even better, they contain no preservatives or additives.
Ingredients List & Ingredient Notes:
What’s in this dog treats recipe? Just 3 simple ingredients and you can be a hero to your pup. My dog and so many other love this recipe and they can be fun to make at home!
- Peanut butter: the safest peanut butter option for dogs is 100% peanut butter made with only peanuts. If you can’t find that check that your peanut butter doesn’t contain xylitol which is toxic to dogs or use Homemade Peanut Butter.
- Whole wheat flour: all-purpose flour or oat flour can be used as a substitute.
- Eggs: I like to use organic pasture-raised whole eggs, these bind the dough together.
Tips for perfect dog treats:
- Mix dough until shaggy then use hands to knead and form into a dough.
- If making different sized treats bake similar sizes on the same tray so they bake evenly.
- Roll dough out evenly so treats are the same thickness bake evenly.
- Cool treats completely before storing so they do not get moldy.

I store my cooled dog treats in a labeled mason jar, the treats need to be completely dry before storing so no mold grows. They should be very crunchy, if you want to make softer treats, you will just need to use them up quickly as this recipe does not contain any preservatives. Note: watch that your dog does not have allergies, these ingredients are all safe for dogs but some dogs may react to these when ingested.
Tools I used for this easy recipe:
- USA Pan Half Sheet Pan – my go-to sheet pans, these are truly non-stick and clean up nicely.
- Rubber Spatula – a must have! I like these because they don’t come apart so I don’t have to worry about water getting inside the spatula and causing mold.
- Pyrex Mixing Bowl Set – I love this set of nesting bowls. I use them for everything, Pyrex glass does not break easily so you can trust on these bowls for years, plus they come in 3 useful sizes and can be stacked!
Recipe FAQs:
How many homemade treats can I give my dog?
As with anything, moderation is key! If your dog enjoys these, give them as often as desired and enjoy knowing your dog is having a healthy treat made with just 3 simple, clean ingredients.
How long can these homemade peanut butter dog treats last?
I bake my dog treats until hard and crunchy, that way there is no moisture in them that could cause mold to grow. I also let them cool completely before transferring them to a container that way no moisture is introduced. If baked and cooled properly these will last up to a month, unless your pooch eats them all before that! I have not tried storing them in the fridge or freezer, but I have heard other people have success doing so!
How do you store homemade dog treats?
Once cooled completely, store your homemade peanut butter dog treats in an airtight container such as a mason jar, for up to 1 month. You want to make sure no air gets to these that could potentially cause mold.
Can you freeze homemade dog treats?
Yes. These can easily be stored in the freezer, similar to above allow to cool completely, transfer to a sheet pan and place in the freezer for 10-15 minutes to set up a bit. Then transfer to a labeled Ziploc bag and freeze for 3-4 months. Take out a desired amount as needed and allow to come to room temperature.
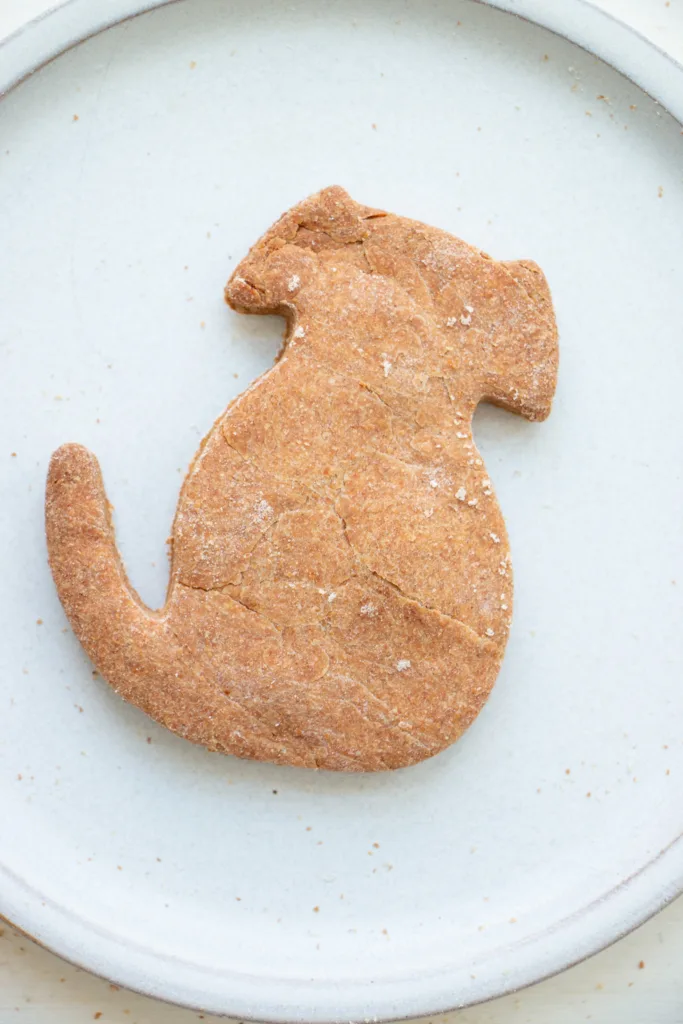
Make big treats or small treats using this recipe, you can find several fun cookie cutter shapes to use. If you don’t have a cookie cutter you can use the lid of a small jar or just cut into squares using a pairing knife, they don’t have to be in and specific shapes.
Homemade Peanut Butter Dog Treats Recipe
Ingredients
- 1 cup Peanut butter, xylitol free*
- 2 Eggs
- 2 1/2 cups Whole wheat flour
- 1/2 cup Water
Instructions
- In a large mixing bowl combine the peanut butter, flour, water, and eggs. Mix to combine until a shaggy dough forms.
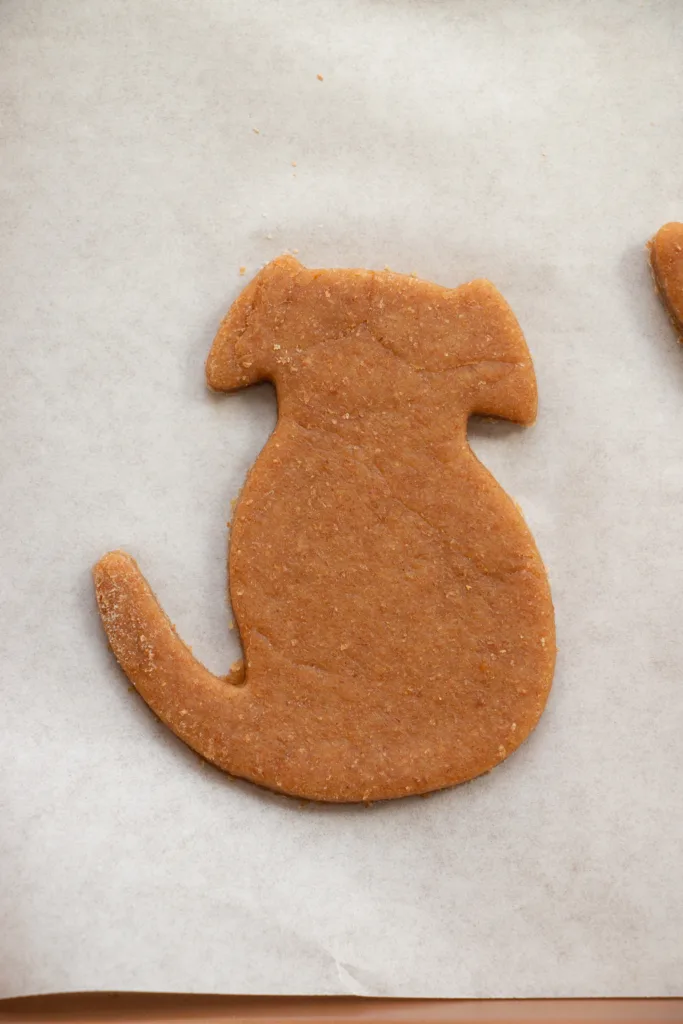
- Transfer out onto a clean surface dusted with whole wheat flour, using your hands knead slightly and roll out to about 1/2" thick. Use a cookie cutter to cut fun shapes*.
- Line a couple of baking sheets with parchment paper and arrange the dog treats evenly. Bake at 350 degrees F for 25-30 minutes, until hard. Baking time will vary on size and shape*.
- Allow to cool completely and transfer to an airtight container for up to 4 weeks!
Notes
Nutrition

Can you include the egg ‘shells’?
Good question! I know dogs can eat egg shells as long as they are cleaned properly, as long as you clean the shells it wouldn’t change the recipe. Just mix in the crushed shells.
The consistency of the dough was perfect!!! Probably the best recipe I’ve tried yet.? Cookies were super easy to make and my dogs loved them. ?The only thing I had to add was a tiny bit of water so the dough was easier to work with. However, that’s probably because I have weak hands.?
Yay! So glad you made them, the dough can get a bit tough – good idea to add a touch more water as needed. Hope your pup enjoys!
Could I use all purpose flour?
Yes, that will also work!
Yes
My grand dog LOVES them!!!
Yay, so happy to hear!
Love this recipe! Super easy and my friend’s dog loves them! Curious to know why my cookies look uncooked in the middle though… is the peanut butter too dense? Although my cookies are 1″ thick, they’re soft on the inside. Still a great recipe! I guess I won’t store it for as long 🙂
Hi Sarah, thanks for sharing! Glad the dogs loved them! You could try baking them longer to get the inside to harden up a bit more.
I tried and it didn’t work 🙁 is it because I’m using oat flour instead of whole wheat?
What part didn’t work out?
The inside of the cookies are still soft and uncooked, would using oat flour make it ore dense?
I haven’t tried using oat flour yet, so I’m not sure if that would cause it. You could try baking longer – or turning down the temperature and baking longer if needed.
They are too thick. Half an inch would be maximum thickness. Hope that helps. I make them about 1/4” inch thick or so.
I often use oats and/or oat flour and that also works just fine.
Love this recipe. Making another batch this morning. My Viszla and all of my four legged visitors get a treat too!
Thanks for sharing, Sally!